- Pro Tips
- Bobbin Case Issues
- Embroidery Backing Basics And When To Use Them
- Embroidery Hacks
- Embroidery Thread Weights & What Do They Mean
-
Hacks For Left Chest Design Placement
- How And When To Use Pre Digitized Fonts In Your Commercial Embroidery Business
- How To Hoop A Cap
- How To Make Custom Embroidery Patches
- How To Select The Right Needle For Your Commercial Embroidery Machine
- How To Stay In Tune With The Embroidery Industry
- How To Troubleshoot & Solve For Your Commercial Embroidery Machines Working Parts
- How to Troubleshoot Tension Issues With Your Commercial Embroidery Machine
- How To Use Appliqué Designs In Your Commercial Embroidery Business
- Production Tips
- Pro Tips List
- Thread Weights And Their Uses
- Tips For Cleaning Up Your Puffy Foam
- Top 3 Differences in Cut Away & Tear Away Embroidery Backing
- Top Reasons To Use Fabrics In Your Embroidery Shop
- Top Tips For Commercial Embroidery Machine Maintenance
- What Are The Main Machine Embroidery Bobbin Types
- What Are The Reasons For Thread Breaks
- What Supplies Do I Need To Make Custom Embroidery Patches
- When To Use Cotty Thread In Your Embroidery Designs
- When To Use More Than One Layer Of Backing
- When To Use Solvy Wash Away Backing For Commercial Machine Embroidery
- Why Is 3D Puffy Foam Profitable


Left Chest Design Placement
Find the correct placement for your left chest design on all types of shirts - every time!

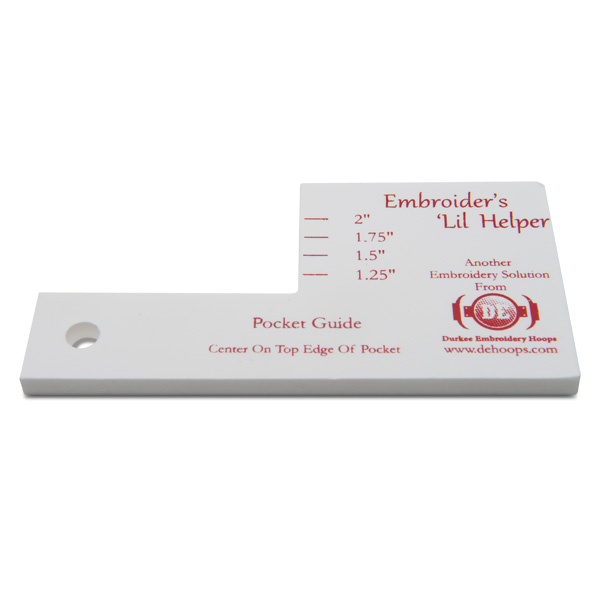
1. The Handy Embroidery Helper
Take the guesswork out of where to place your left chest designs! Directions printed on the helper with pictures for easy placement.(Available in different sizes.)
2. Triangulate For Correct Position
Use the following formula:
- Horizontal position: Find the center of the sleeve from shoulder to armpit.
- Vertical position: End of neckline (where the neck line joins the shoulder.)
- Triangulate these two points (where they meet) this is your center point for your design.

3. On A 2 Button Placket Shirt
Always position the design horizontally even with the bottom stitch line of the placket. Vertically, straight down from the end of the neckline.
4. On A 3 Button Placket Shirt
Always position the design horizontally even with the 3rd button. Vertically, straight down from the end of the neckline.
When in doubt, always err on the side of too high rather than too low on shirt. Likewise, always err on the side of being too close to the center rather than too close to the armpit.


Watch this helpful video to learn how to do left chest design placements correctly on your apparel.


Follow us on Facebook to keep up with our latest sales and events.

Subscribe to our YouTube channel to learn embroidery tips and tricks from our educational videos.